Getting Started with that Old Helium Tank
Alright, so I had this old helium tank just sitting around. You know the kind, the ones you get for birthday parties. It was empty, obviously, just taking up space in the garage. I got this idea to repurpose it, maybe turn it into a little stand or part of a garden sculpture, nothing fancy. But first, it had a little dent near the bottom I wanted to sort of… fill in, and maybe weld a little base plate onto it. Figured I’d document the process.

Making Sure It Was Safe (Mostly)
First thing’s first, safety. Even though I knew it was empty, I double-checked. Opened that valve right up again outside, listened for any hiss. Nothing. Left it open for a good hour just to be sure. You don’t mess with containers, even small ones. Then, I took my angle grinder, slapped on a flap disc, and went to town on the area I needed to weld and around that dent. Got rid of all the paint, down to bare, shiny metal. You need clean metal for a decent weld, everyone knows that.
Getting the Welder Ready
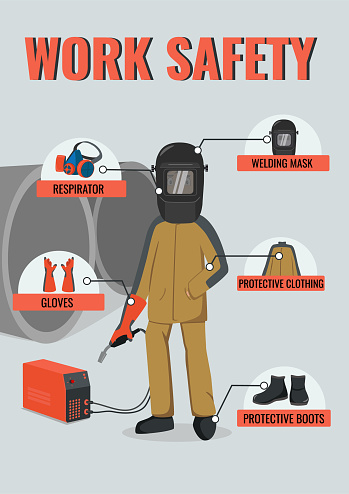
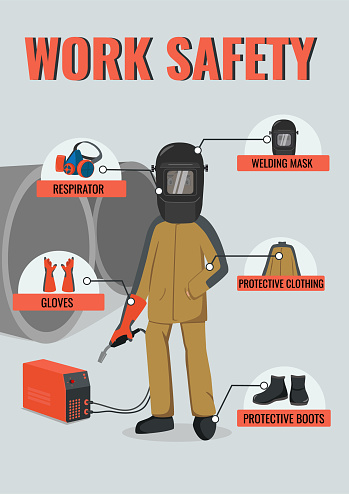
Dragged out my trusty MIG welder. It’s nothing special, just a simple machine, but it gets the job done for stuff like this. Checked the wire feed, made sure I had enough shielding gas – using the usual Argon/CO2 mix. Hooked up the ground clamp nice and tight to a clean spot on the tank. Then, the safety gear. Always the safety gear. Put on my heavy gloves, the thick leather jacket, and my auto-darkening helmet. You only get one pair of eyes, right?
Laying Down Some Metal
So, for the dent, I wasn’t trying to make it perfect, just build it up a little. Started by laying down small tack welds inside the dent area. Just quick little bursts – zap, zap, zap – to build up some material slowly. The tank metal is pretty thin, so you gotta be careful not to just blow right through it. Gotta move quick and keep the heat down.
After building it up a bit, I started running short beads, weaving back and forth slightly to fill it in more smoothly. Watching that little puddle of molten metal, listening to the crackle and hiss of the welder. It’s kinda satisfying when you get into a rhythm. It wasn’t the prettiest weld ever, mind you, a bit lumpy maybe, but it filled the low spot.
Next was attaching a small square piece of scrap steel I cut earlier to act as a base. Lined it up where I wanted it on the bottom edge of the tank. Did a few tack welds first, one on each side, to hold it firmly in place. Checked it was reasonably straight – good enough for garden art, anyway.

- Tack weld corner 1.
- Tack weld corner 2 (opposite).
- Tack weld corner 3.
- Tack weld corner 4.
Once tacked, I ran beads along each side where the plate met the tank body. Tried to keep a steady hand, moving at a consistent speed. You can sort of feel when it’s going right. The sound is even, the arc is stable. Had a couple of spots where I sputtered a bit, probably moved too fast, but went back over them gently.
The Cleanup and Check
After letting it cool down for a bit – hot metal stays hot longer than you think – I took the grinder again, this time with a grinding disc, and gently knocked down the high spots on the welds. Didn’t go crazy, just smoothed it out a little so it didn’t look totally amateur. Then gave it a quick brush with a wire wheel to clean off any spatter and flux residue.
Looked it over. Yeah, the welds are definitely mine, haha. Not professional grade by any means, but they’re solid. The base plate is stuck on there good and proper, and the dent is much less noticeable. Good enough for what I plan to use it for.
Final Thoughts
So yeah, that was today’s little project. Turned a piece of junk into… well, a slightly more useful piece of junk for now. It’s ready for the next stage of becoming whatever garden thing I decide on. Welding on these thin tanks is tricky, gotta be quick and keep the power low. But it worked out okay. Another day in the workshop, another thing tinkered with. Success!
