Alright, so today I wanted to chat a bit about my journey figuring out this whole APRS frequency thing. It wasn’t like I just woke up one day and knew where all the cool kids were sending their packets. Nope, it was a bit of a faff, to be honest.

Getting Started with APRS – What’s the Freq?
So, I got myself a little radio that could do APRS. Shiny new toy, you know how it is. I was all excited to see my little icon pop up on a map. But then came the big question: where do I even transmit? It’s not like your regular repeater where you just dial in the local machine.
My first thought was, “Okay, it’s gotta be on 2 meters, right?” That’s where a lot of the digital stuff happens for local comms. So, I started poking around, asking a few of the older guys in the local club. Some mumbled things, others pointed me to a dusty old band plan chart. Helpful, sort of.
I did some searching online too. You type “APRS frequency” into a search engine, and you get a bunch of stuff. Some of it clear, some of it looking like rocket science. I just wanted to get on the air, man!
The Main Squeeze – 144.390 MHz
Eventually, after a bit of digging and cross-referencing, one frequency kept popping up for North America: 144.390 MHz. That seemed to be the big one, the main highway for APRS traffic around here. So, I thought, “Okay, let’s give that a shot.”
I programmed it into my radio. Double-checked it. Triple-checked it. You don’t want to be that guy transmitting on the wrong spot, causing a ruckus.
- I made sure my radio was set to the right mode – packet, or data, or whatever your specific rig calls it.
- Set my callsign and all that jazz in the APRS settings.
- Kept the power low at first. No need to blast out if I’m not even on the right channel.
Listening First – The Golden Rule
Before I even thought about hitting that transmit button, I just listened. For a good while. On 144.390 MHz. And sure enough, I started hearing those distinctive brrrrp-brrrrp sounds of APRS packets. That was a good sign! It meant I was in the right ballpark. I could hear digipeaters, other stations, the whole shebang. It was like tuning into a secret data channel.
It’s super important to listen first. You get a feel for how busy the frequency is. You confirm you’re actually on the right frequency before you add to the noise.
What About Other Places?
Now, I’m in North America, so 144.390 MHz is my go-to. But I learned pretty quickly that it’s not the same everywhere. If you’re over in Europe, for example, I hear they use 144.800 MHz a lot. And then there’s HF APRS, which is a whole other kettle of fish, usually down on the 30-meter band, like around 10.1476 MHz USB (though you’ll often see it as 10.150 LSB on some older docs, then tune down for the actual data on USB, confusing I know!).
So, the big takeaway for me was:
- For North America VHF: 144.390 MHz is king.
- Always check your local band plan or what local APRS users are actually using. Things can vary.
- If you travel, remember the frequency might change!
My First Packets Out
Once I was confident I had the right frequency and heard other traffic, I finally set my little tracker to beacon. And you know what? It worked! I saw my station pop up on the online maps. It was a pretty cool feeling, not gonna lie. Just from getting that one simple thing – the frequency – correct.
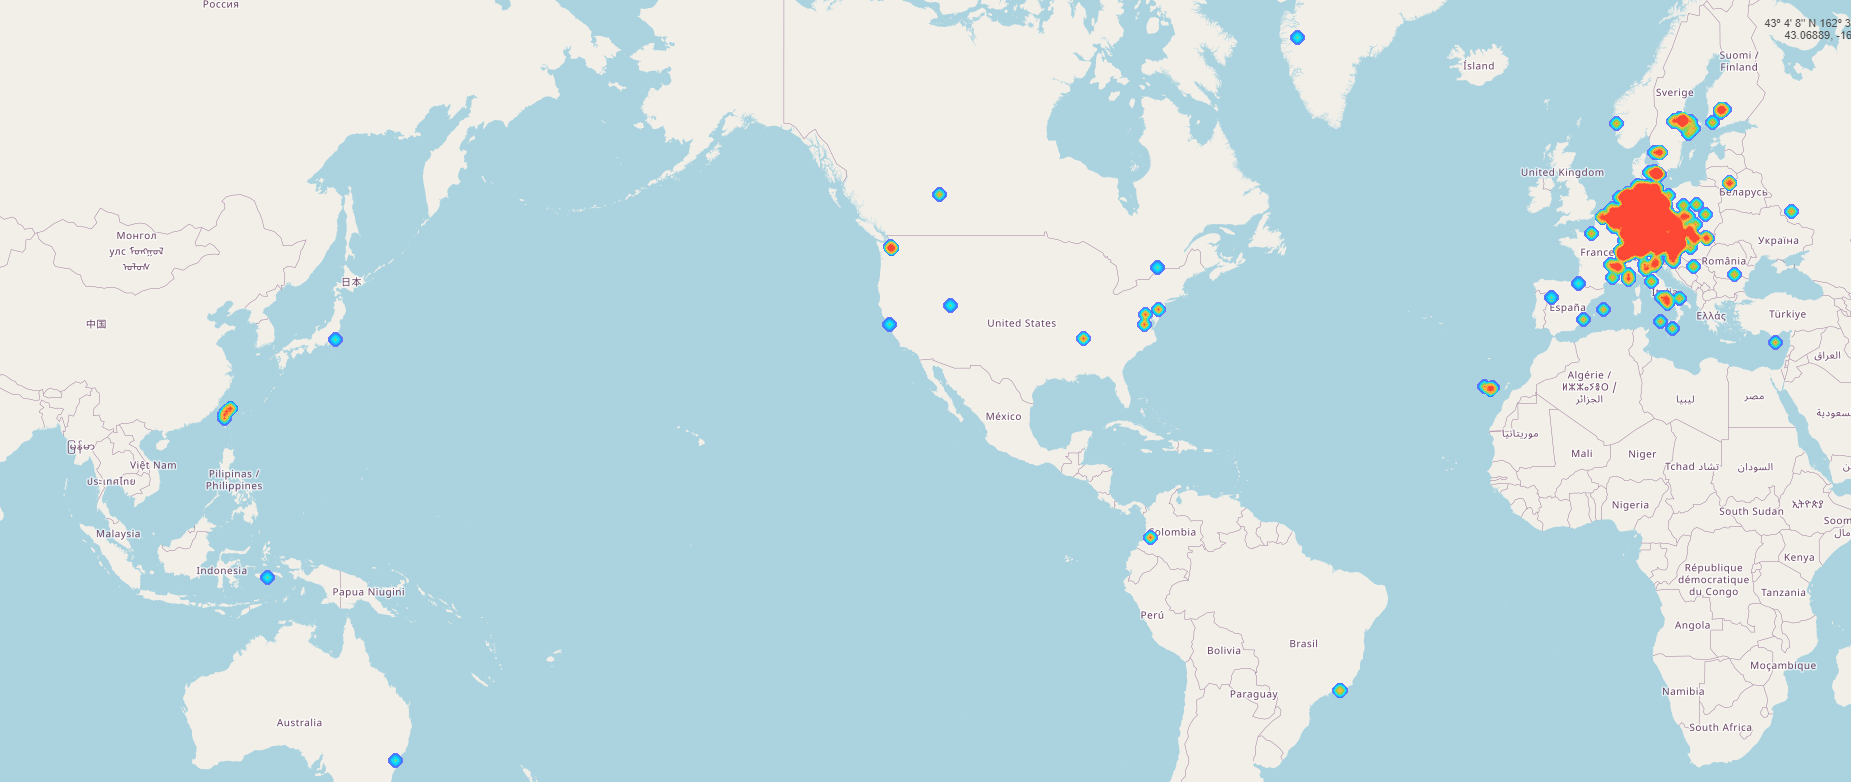
Since then, I’ve mostly stuck to 144.390 MHz for my local APRS stuff. It’s where the action is for me. Sometimes I’ll scan around a bit, but that’s the main one I keep programmed in for APRS.
So yeah, that was my little adventure into finding the APRS frequency. Started with a bit of head-scratching, but ended up with packets flying. Always a good day in the shack when things just work out after a bit of effort.