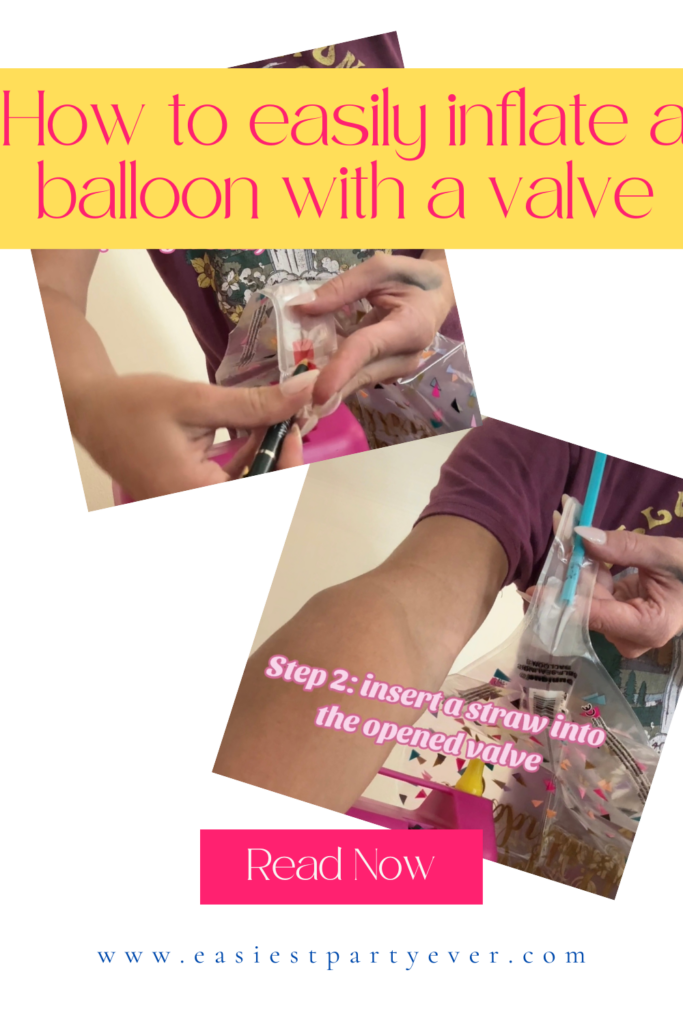
So, the other day, I had a bunch of these foil balloons for my kid’s birthday. You know, the shiny ones with characters on them? They don’t just stretch open like the regular rubber ones. They’ve got this little flat tab at the bottom, and that’s where the magic is supposed to happen. I remember the first time I saw one, I was like, “How in the world do I get air into this thing?” It just looked sealed shut.

Figuring Out The Valve
I poked around that little tab. It usually has an arrow or some tiny print saying “valve.” It’s basically two layers of plastic film stuck together, and you have to get something between those layers. My first attempt, years ago, I almost tore the darn thing. I was trying to just force the nozzle of my hand pump in. Bad idea.
What I learned to do, and what I did this time, was to be a bit more gentle. I usually grab a drinking straw if I have one handy, or even the thin nozzle attachment that sometimes comes with air pumps. You gotta gently slide it into the opening on that tab. You’ll feel a bit of resistance, then it should slip in a few inches. That opens up the pathway.
- Found the little flat tab on the balloon.
- Looked for the almost invisible slit or opening.
- Gently inserted a thin straw to open up the internal sleeve. This is key!
Getting The Air In
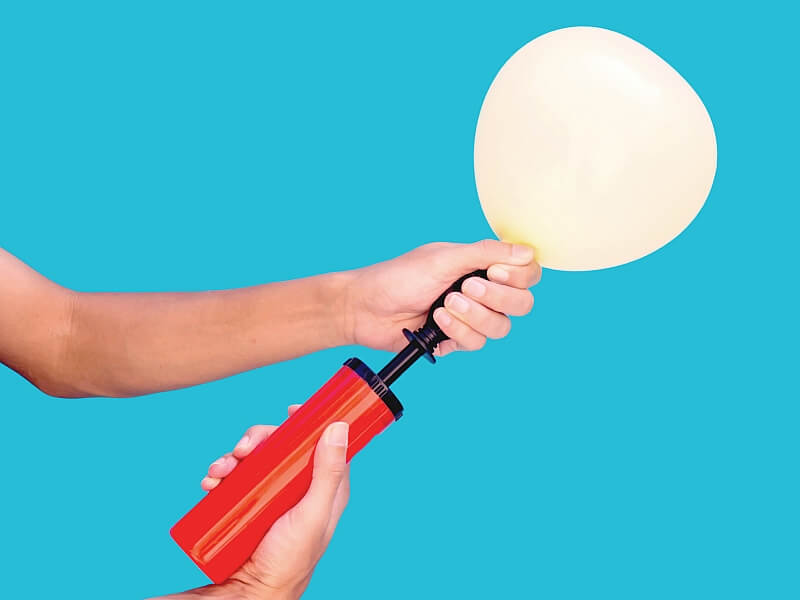
Once I had that pathway opened with the straw, inflating was next. For smaller balloons, sometimes I just blow into the straw if I’m feeling energetic and don’t have a pump. But for a bunch of them, or the big ones, you definitely want a pump. I have a simple manual hand pump. I took out the straw and quickly put the pump nozzle into the opening I’d made. If the nozzle is a bit big, sometimes I leave the straw in and put the pump nozzle over the straw, making a sort of seal with my fingers.
This time, I was using one of those small helium canisters for a few special floaty ones. The nozzle on those is usually a black, rubbery thing. You have to push the balloon’s valve tab firmly onto that nozzle. Then, you either bend the nozzle or push a lever on the tank to release the helium. Word of advice: hold it on tight, or you’ll get helium hissing out everywhere but into the balloon. It took me a couple of tries to get a good seal and not waste gas.
You pump or let the helium in until the balloon is firm. Don’t go crazy, though! These foil balloons don’t stretch much. If you overfill them, they’ll pop. I learned that the hard way with a big number ‘5’ balloon once – loud bang and a very sad kid. You want it to be mostly wrinkle-free and firm, but still have a tiny bit of give when you press it.

The Sealing Part and Finishing Up
The best thing about these valve balloons is that most of them are self-sealing. Once you pull out the straw or the pump nozzle, there’s an internal flap that just presses shut and keeps the air or helium in. Pretty clever. No fumbling around trying to tie a knot with a slippery plastic tab.
After I pulled the nozzle out, I usually just run my fingers over the valve tab a couple of times to make sure it’s pressed flat and sealed properly. Sometimes, if it feels like a slow leak, I might put a small piece of tape over the valve opening, just to be sure, but usually, it’s not needed.
And that’s pretty much it. From being totally confused by that little tab to getting a room full of floating characters. It’s not rocket science, but knowing that little trick with the straw or being gentle with the insertion makes all the difference. Saves a lot of frustration, and saves you from accidentally ripping your expensive balloons before the party even starts!
