Okay, let’s talk about this high-altitude balloon project I worked on. It wasn’t exactly a weekend thing, took some real effort, but here’s how it played out from my end.

Getting the Idea Rolling
It started simply enough. I’d seen some cool stuff online, folks sending cameras way up high, getting those amazing shots of the earth. Thought to myself, maybe I could pull that off. Didn’t need anything super fancy, just wanted to see if I could get a payload up there and hopefully get it back again. The challenge itself was appealing, you know? A real hands-on kind of project.
Planning and Gathering Stuff
First step was figuring out the bits and pieces. This wasn’t like building a shelf; you need specific things.
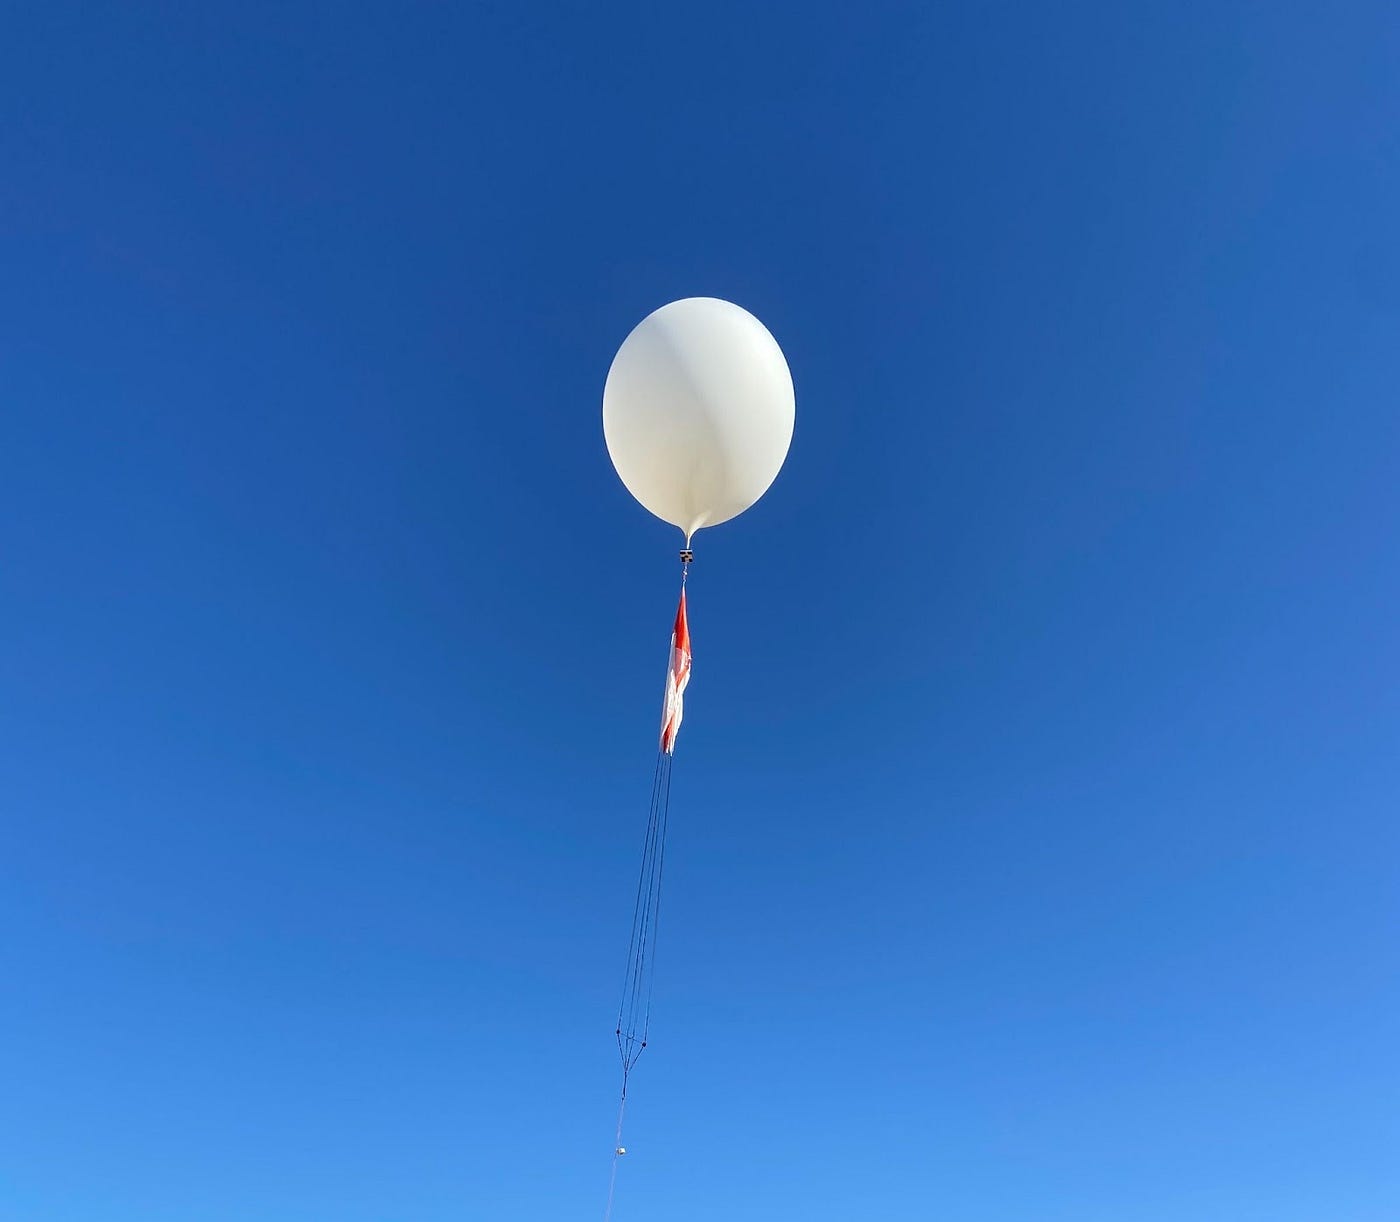
- The Balloon: Had to source a proper weather balloon, the big kind. Found a place that sold them specifically for this purpose.
- Lifting Gas: Helium was the way to go. Getting a tank wasn’t too hard, but figuring out how much gas took some scribbling on paper. Needed enough lift for the payload plus some extra to get it climbing fast.
- Payload Box: I just went with a basic styrofoam cooler box. Light, cheap, easy to cut into, and decent insulation.
- Tracking Gear: This was super important. Got myself a GPS tracker that broadcasts its location over radio. Can’t rely on cell service up there. Also threw in a simple GPS logger that just records data, as a backup.
- Camera: Used a small action camera I already had. Charged it fully and set it to take pictures every few seconds. Hoped the battery would survive the cold.
- Recovery System: A parachute, obviously. Didn’t want the box smashing into bits. A simple hobby rocket parachute seemed about right.
- Miscellaneous: Cord, strong tape (lots of it), zip ties, and chemical hand warmers – figured those might keep the batteries from freezing solid at altitude.
Putting It All Together
Spent a few evenings in the garage piecing everything together. Cut a hole in the foam box for the camera lens. Mounted the GPS tracker antenna so it had a clear view of the sky. Tucked the electronics inside, tried to pad them a bit. Activated the hand warmers and sealed the box up tight with tape just before launch day prep. Attached the parachute securely to the payload box. Then attached the main line that would connect the whole thing to the balloon. Tested the tracker to make sure it was transmitting properly from inside the box. Lots of double-checking knots and connections.
Launch Day
Picked a clear day with calm winds forecasted. Drove out to a wide-open space, well away from any towns or flight paths. Laying out the balloon, which is huge and floppy when empty, was the first step. Then came filling it with helium. This part was a bit tense, managing the heavy tank and controlling the flow into the balloon so it didn’t get damaged. Slowly it swelled up, getting bigger and bigger. Weighed the payload box with the parachute attached one last time. Attached the payload line to the neck of the balloon. Held onto it tight, that thing wanted to go!
Up, Up, and Away
When everything looked good, took a deep breath and just let go. It shot up way faster than I expected. Stood there watching it shrink into a tiny dot and then disappear. Felt a mix of excitement and nervousness, wondering if I’d ever see it again.
The Tracking Phase
Got the radio receiver and laptop set up. Started picking up the signal from the tracker. We watched the altitude climb steadily on the map display. Saw it drift eastwards as it hit the higher wind currents. It went really high, past the point where planes fly. Then, after a couple of hours, the altitude started dropping fast – the balloon had burst as planned. The tracker software indicated the parachute had likely deployed. Now the waiting game, watching it descend.
The Chase and Recovery
The tracker gave us a predicted landing zone based on its descent path and wind data. Hopped in the car and started heading that way. It’s never pinpoint accurate, so we drove around the general area, keeping an eye on the tracker signal strength and direction. Took a while, driving down farm roads, scanning fields. Finally, got a strong signal. Found it sitting upright in a harvested cornfield! The farmer was nearby and didn’t mind us retrieving it. Box was intact, parachute nearby. Success!
Checking the Goods
Got it home and carefully opened the box. Everything was cold, batteries were dead, but the SD cards were fine. Plugged them into the computer, and there they were – hundreds of photos! And the backup GPS log confirmed the altitude and path. The pictures from the highest point were incredible. You could really see the blackness of space and the curve of the Earth. Pretty amazing feeling seeing those images that my homemade setup captured.
Final Thoughts
So yeah, that was the high-altitude balloon adventure. It was a proper project, involved a bit of learning, some educated guesswork, and a fair bit of hope. Seeing it through from planning to launch to recovery, and getting those results back, was incredibly rewarding. It’s one of those things where the process is just as interesting as the final outcome. Definitely got the tinkering bug satisfied with that one.