Okay, so I’ve always been fascinated by the idea of sending stuff up into the sky, you know, like way up high. That’s why I decided to mess around with a weather balloon kit. Here’s how it all went down.
Getting Started
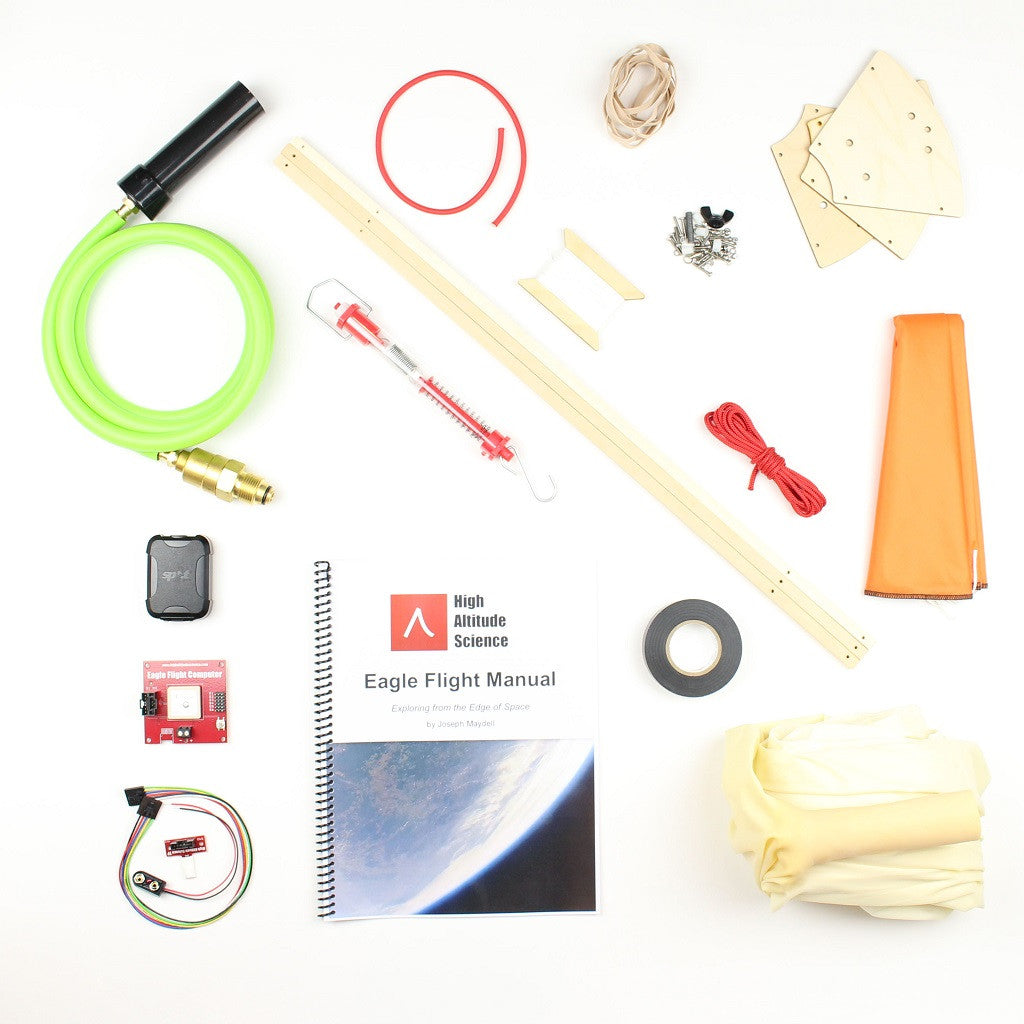
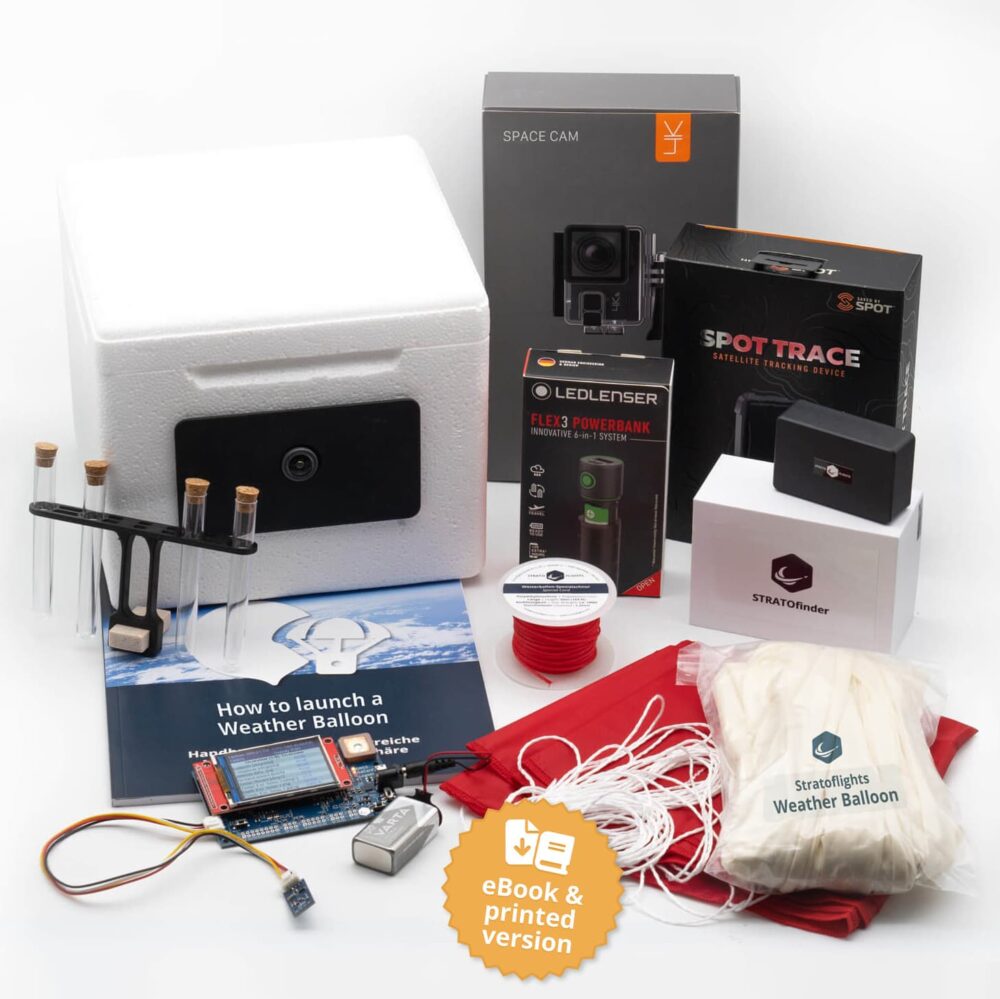
First things first, I ordered a weather balloon kit online. It came with a big balloon, a parachute, a payload box, and some other bits and pieces. I also grabbed a GPS tracker and a small camera separately because I wanted to track the thing and get some cool shots from up there.
Prepping the Balloon
Inflating the balloon was the first big step. I used helium for this, which I got from a local party supply store. It’s kind of a hassle, but you gotta fill the balloon until it’s big enough to lift your payload. The instructions in the kit were pretty clear about how much to inflate it.
Setting Up the Payload
Next, I worked on the payload box. This is where all the fun stuff goes. I secured the GPS tracker inside, making sure it was snug and wouldn’t bounce around. Then I mounted the camera to the outside of the box, pointing downwards. I used a bunch of tape and zip ties to make sure everything was super secure. I’m not a professional, you know, just try to use tools I could find at home.
Launch Day
Launch day was exciting! I picked a clear, calm day with not much wind. We drove out to a big open field, far away from any buildings or power lines. I had a couple of friends help me out, which I highly recommend. One person holding the balloon while the other gets the payload ready is a good idea.
The Launch
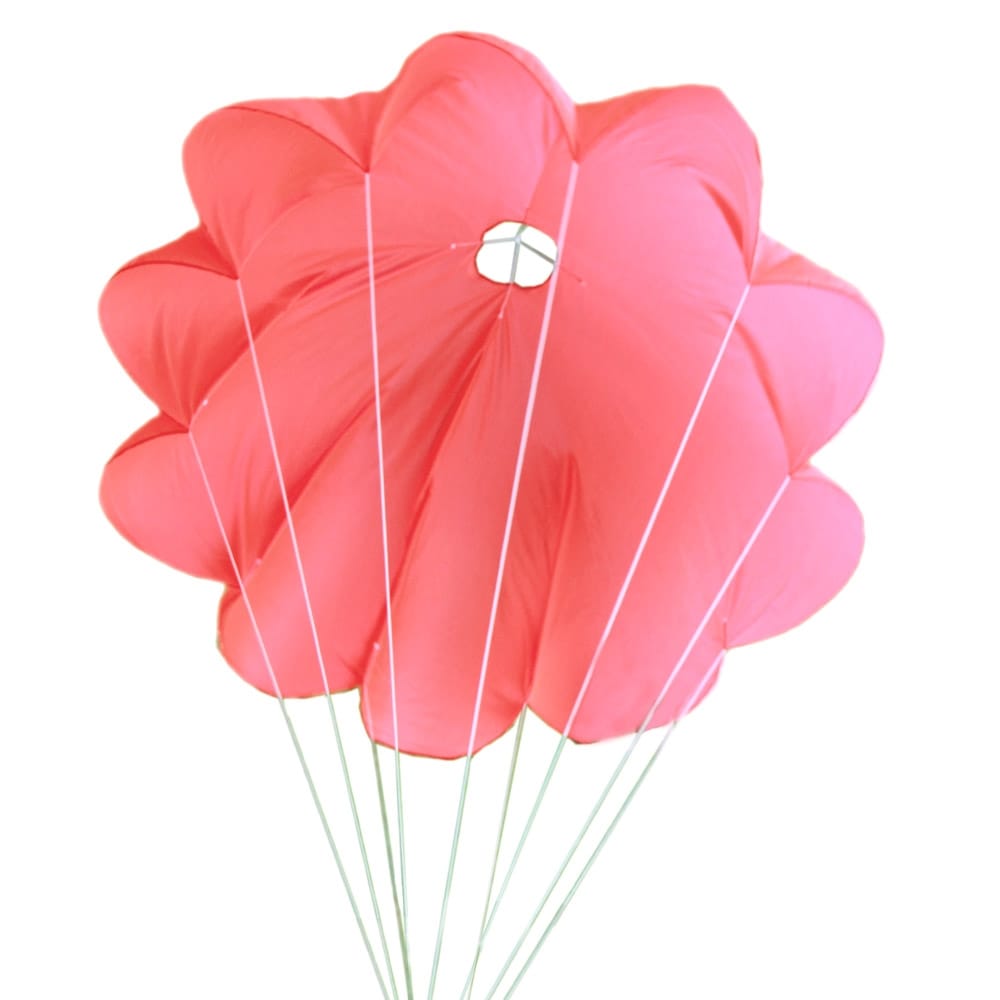
With everything ready, we filled the balloon the rest of the way and attached the payload box to the parachute and the balloon. Then, on the count of three, we let it go! Watching it rise into the sky was awesome. It went up really fast, and soon it was just a tiny speck.
Tracking and Recovery
We tracked the balloon’s path using the GPS tracker on my laptop. The signal was good, and we could see exactly where it was going. It climbed to a pretty high altitude – way higher than I expected! After a while, it reached its maximum height and started to descend. That is really cool, isn’t it?
- Tracked the balloon using GPS.
- Followed its path on a map.
- Drove to the predicted landing site.
We drove to the area where it was supposed to land and started searching. It took a bit of time, but we eventually found it in a field. The parachute worked perfectly, and the payload was just sitting there waiting for us.
Checking the Results
Back home, I hooked up the camera and downloaded the footage. The views were incredible! You could see for miles and miles. The GPS data was also cool to look at – it showed the balloon’s entire journey from start to finish. I’m not a professional, so it’s a little bit rough, but who cares?
Final Thoughts
All in all, it was a really fun project. It took some planning and effort, but it was totally worth it. If you’re into this kind of stuff, I definitely recommend giving it a try. Just make sure you follow all the safety guidelines and let your local aviation authorities know what you’re up to. This is kind of important if you don’t want to get into any trouble, so be careful, guys.
Hope you guys enjoyed this little adventure of mine. It’s not every day you get to send something into near space and get it back! Feel free to ask me anything, I am not expert but I am really into sharing!