You know, I always thought balloons were pretty straightforward. You buy a pack, blow a few up, maybe wrestle with tying them, and bam, party time. But then, a few weeks back, I volunteered – big mistake – to handle the decorations for my nephew’s birthday. We’re talking a full-on balloon arch, the works. Let me tell you, it was a total nightmare. Half the darn things popped before I even got ’em near the string. The ones that survived looked saggy and sad. It really made me wonder, how on earth do they manufacture these things in the first place? Because clearly, there’s a trick to it that I was missing, or maybe the ones I bought were just, well, cheap.
And that’s another thing, isn’t it? The quality lottery you play every time you buy balloons. Sometimes you get decent ones, other times they feel thinner than tracing paper and pop if you just look at them funny. I swear, some batches seem designed to cause maximum frustration right before a kid’s party. It’s like, come on, people, it’s just a bit of rubber, how hard can it be to make them last more than five minutes?
So, I Did Some “Research”
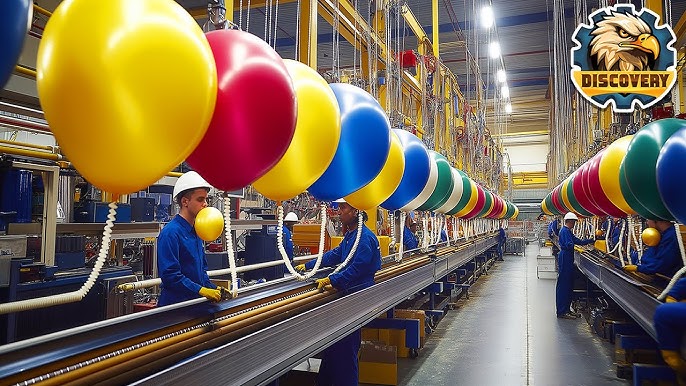
Driven by my party decoration fiasco, I decided to look into how these colorful orbs of (temporary) joy are actually made. And honestly, it’s a bit more involved than I figured. It’s not just some guy in a shed with a rubber sheet and a pair of scissors, that’s for sure.
First off, the main ingredient is usually latex. This is natural stuff, comes from rubber trees, kind of like a milky liquid. They collect this, clean it all up, and then they start mixing in their secret sauce. This includes pigments for all those bright colors – your reds, your blues, your “why did I pick this weird green” balloons. They also add other chemicals to make the latex stronger and stretchier. Or at least, that’s the goal. Sometimes, I feel like they forget that last part.
Then comes the shaping part. They have these things called formers, which are basically balloon-shaped molds. Imagine hundreds, maybe thousands, of these ceramic or metal balloon shapes, all hanging upside down. These formers then take a dip into a big tank full of that colorful liquid latex. It’s like a synchronized swimming routine, but with balloon molds. They control how long they dip to get the right thickness. Too thin, and you get those poppers I was battling.
After their latex bath, the coated formers need to dry and cure. They usually pass through an oven. This isn’t like baking cookies; it’s more about setting the latex properly, making it into that familiar rubbery material. This step is super important for the balloon’s strength.

And you know that little rolled edge at the opening of the balloon? The part you stretch to blow it up and then struggle to tie? They make that while the latex is still on the former and a bit tacky. Little brushes or rollers create that crucial lip. It’s a small detail, but pretty clever when you think about it.
Once they’re all dried and the lip is formed, it’s time to get the balloons off the molds. This can be done by air jets or sometimes by hand, just peeling them off. Then they usually get a good wash and maybe a dusting of powder to stop them from sticking together in the bag. That’s why sometimes they feel a bit powdery.
And of course, some balloons get designs printed on them – “Happy Birthday,” cartoon characters, you name it. That’s a whole other step, usually done before they’re packaged up. They also do quality checks, supposedly. Though, after my recent experience, I have my doubts about how thorough those checks always are!
So, yeah, it’s quite the journey from a tree’s sap to that colorful thing that eventually, inevitably, pops or deflates. It’s a bit of an industrial ballet, really. Makes me appreciate the non-popped ones a little more. Still, next time, I’m just buying the pre-inflated ones. Less stress, you know?