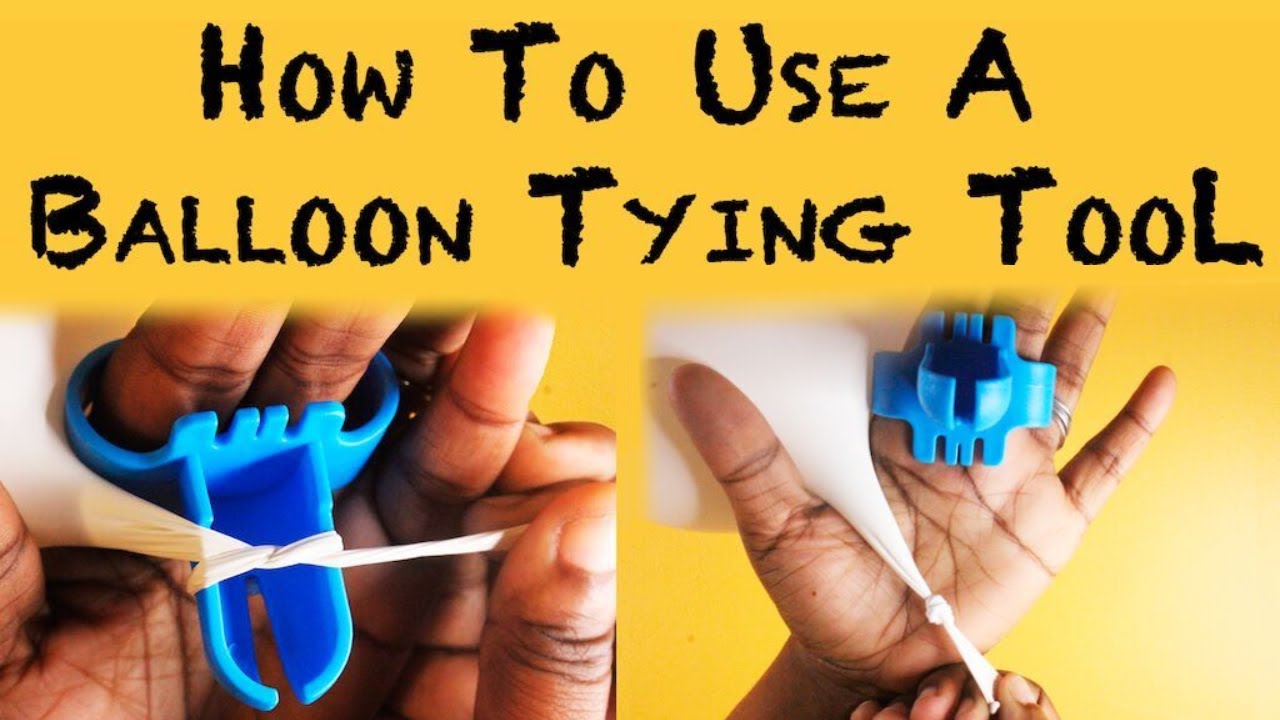
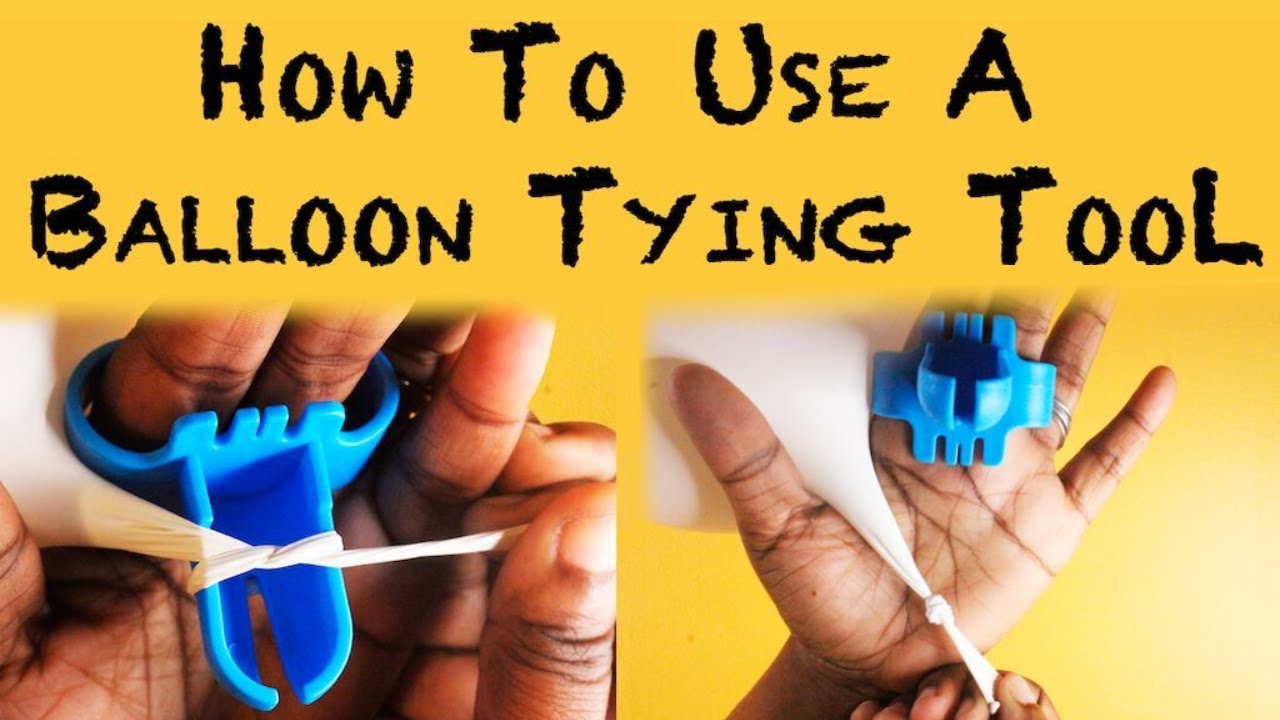
Okay, let me walk you through how I actually tie a balloon. It’s something you just gotta do sometimes, right? So, here’s my process from start to finish.

Getting Started
First thing, obviously, I grabbed a balloon. Any standard one works. Then, I blew it up. You know, puffing into it until it got to the size I wanted. Not too big, not too small. Gotta leave enough neck to work with.
The Tying Part
Alright, here’s the main bit. Once it was inflated, I pinched the neck tight with one hand, right near the opening, so no air escaped. This is pretty important.
Then, with my other hand, I gently stretched that neck part out a little bit. Just enough to make it easier to handle. You don’t wanna snap it.
Next step, I used my index and middle fingers on the hand holding the balloon neck, kind of making a ‘V’ or peace sign shape. I wrapped the stretched neck around those two fingers. Usually, I go around the back of them first, then loop it towards the front, crossing over itself.
- Hold neck tight.
- Stretch neck gently.
- Wrap around two fingers (index and middle work best for me).
Now, there’s a little loop formed around my fingers. The tricky part, or what felt tricky at first, is tucking the very end of the balloon neck – the little nubbin – under the part of the loop that’s stretched across my fingers. So, I tucked that end through the loop I just made.

Once the end was through, I carefully slid the loop off my fingers while holding onto that end I just tucked. And then, I just pulled it snug. Not crazy hard, just enough to make a secure knot.
All Done
And that’s basically it. The balloon was tied. Air wasn’t leaking out. It sounds maybe a bit complicated when I write it all out, but once you do it a couple of times, it becomes pretty automatic. Just stretch, wrap, tuck, and pull. Works for me every time now.
