Okay, so, I’ve always been fascinated by space, you know? Not like, astronaut-level fascinated, but more like “wouldn’t it be cool to see the Earth from really, really high up?” kind of way. So, I started looking into this whole high-altitude balloon thing. You’ve probably seen those videos online – people sending up GoPros and getting these amazing shots of the curvature of the Earth. I wanted to do something similar, but maybe a little bigger.

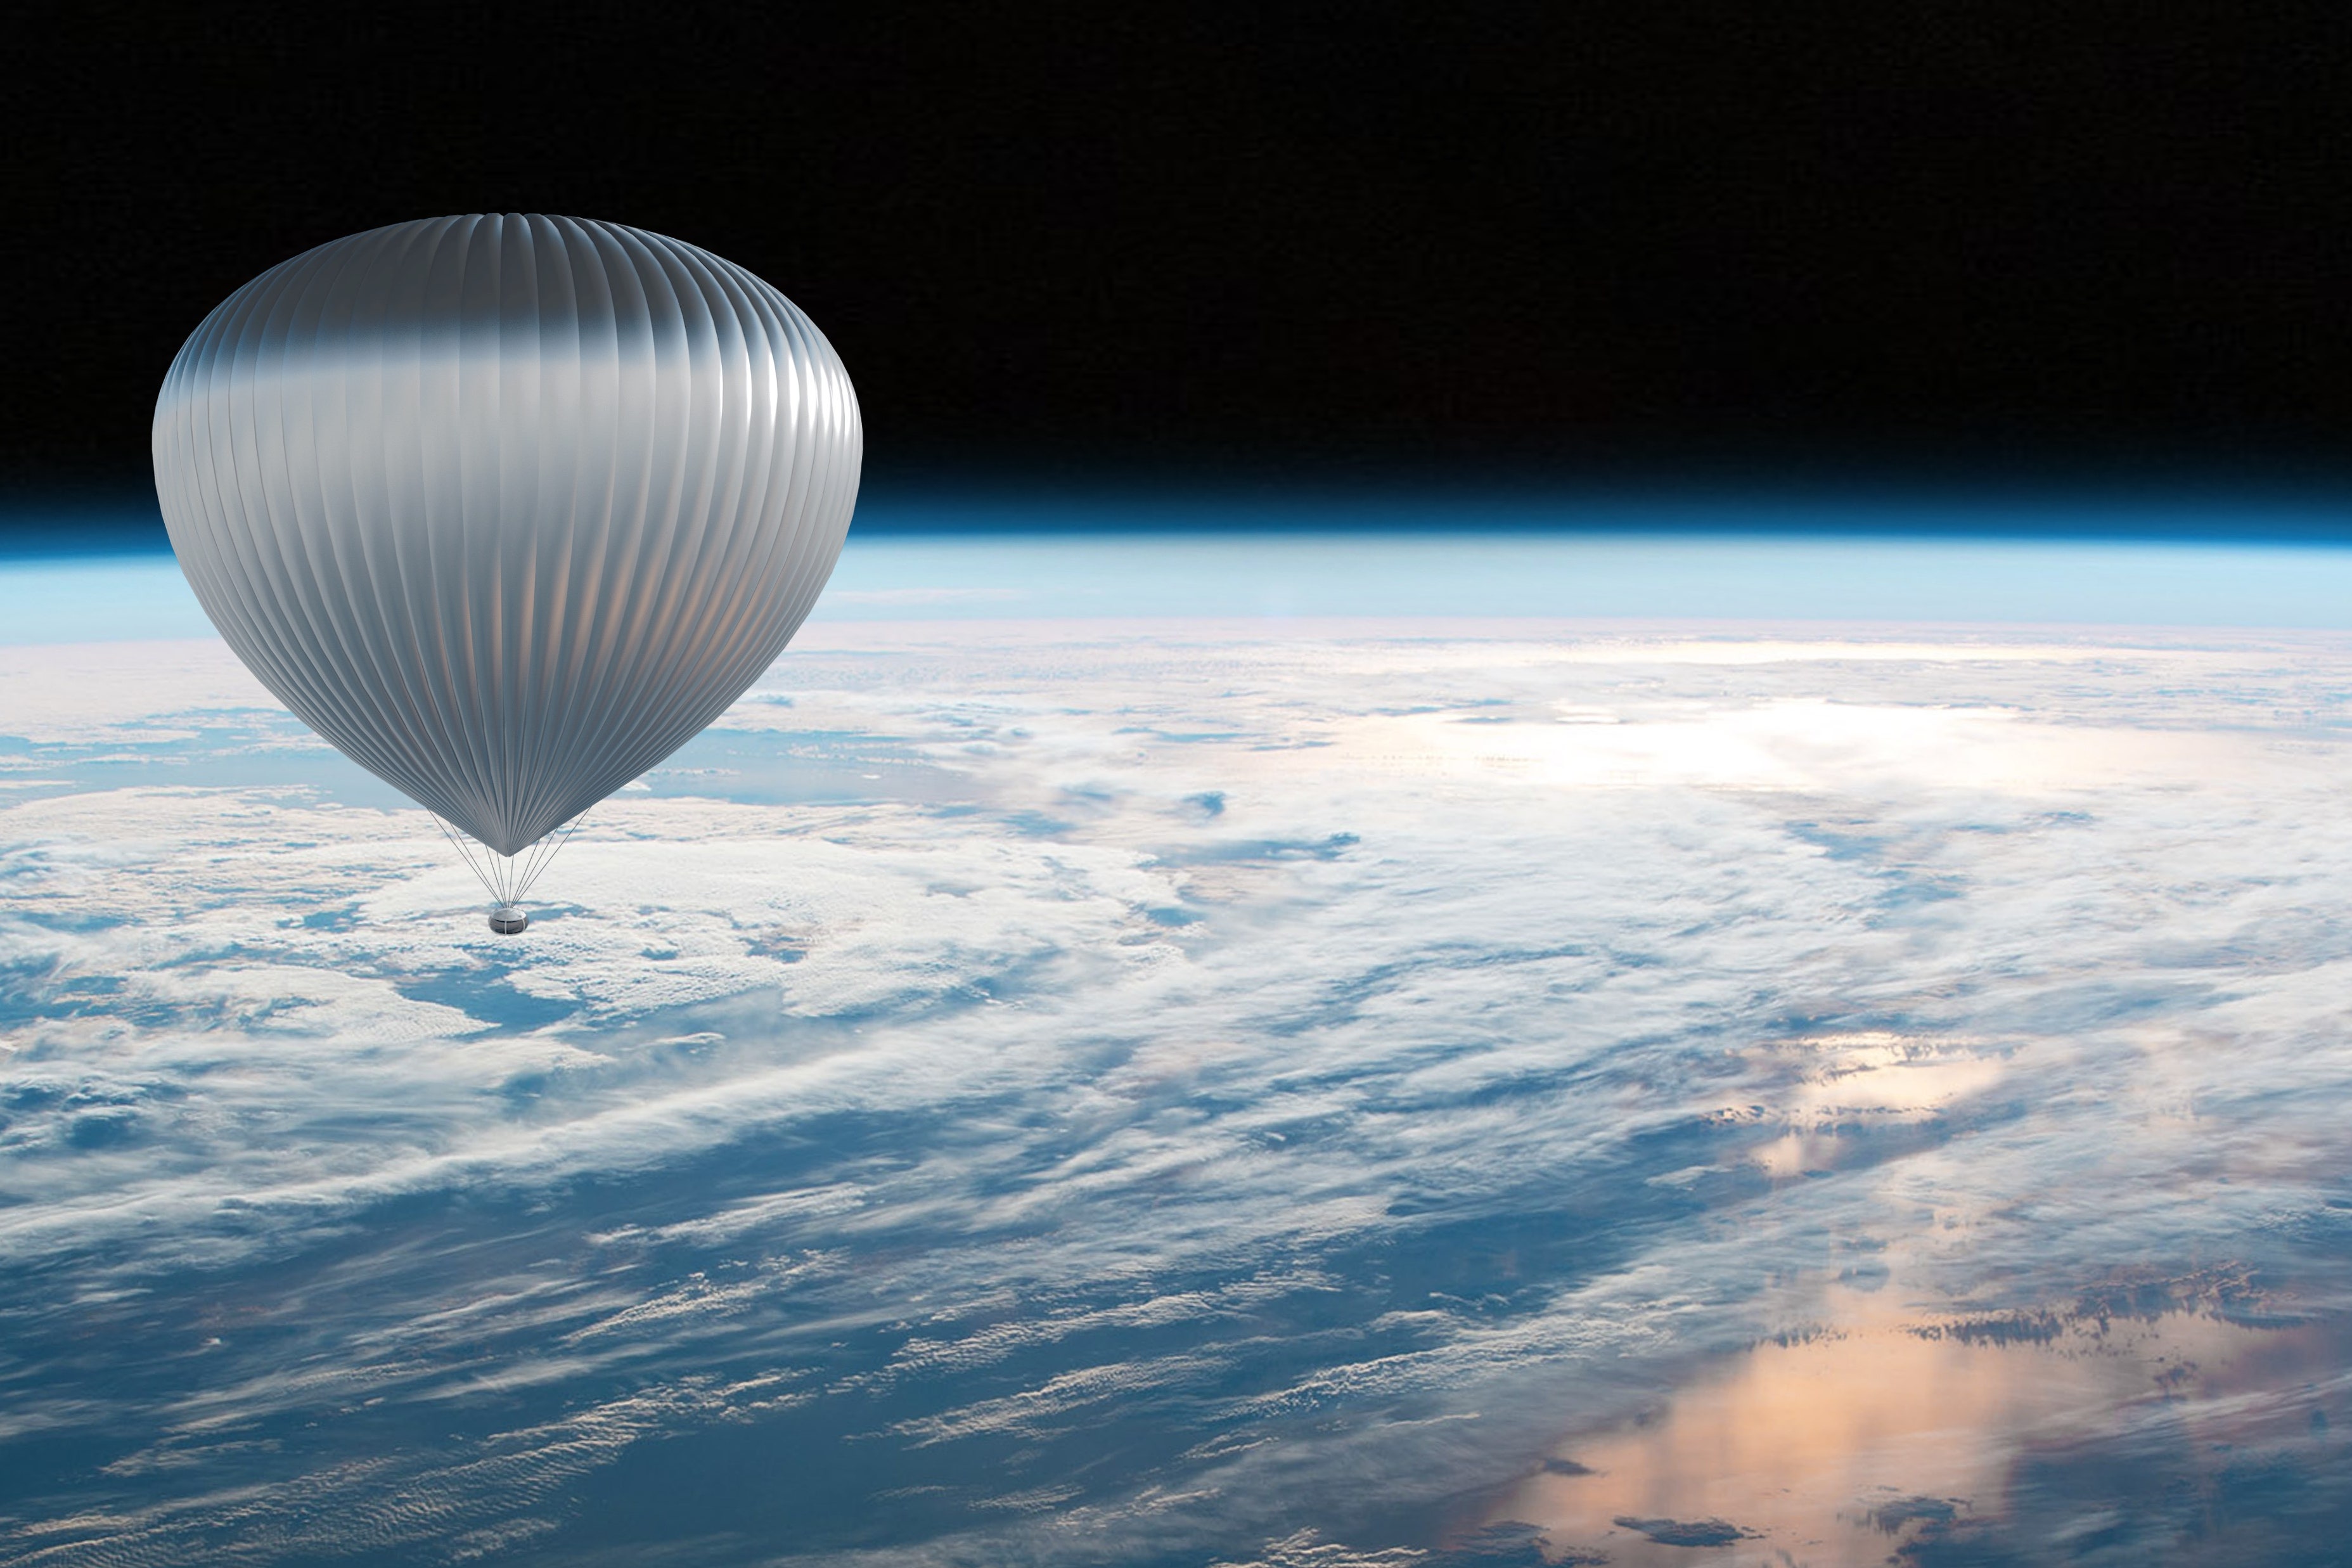
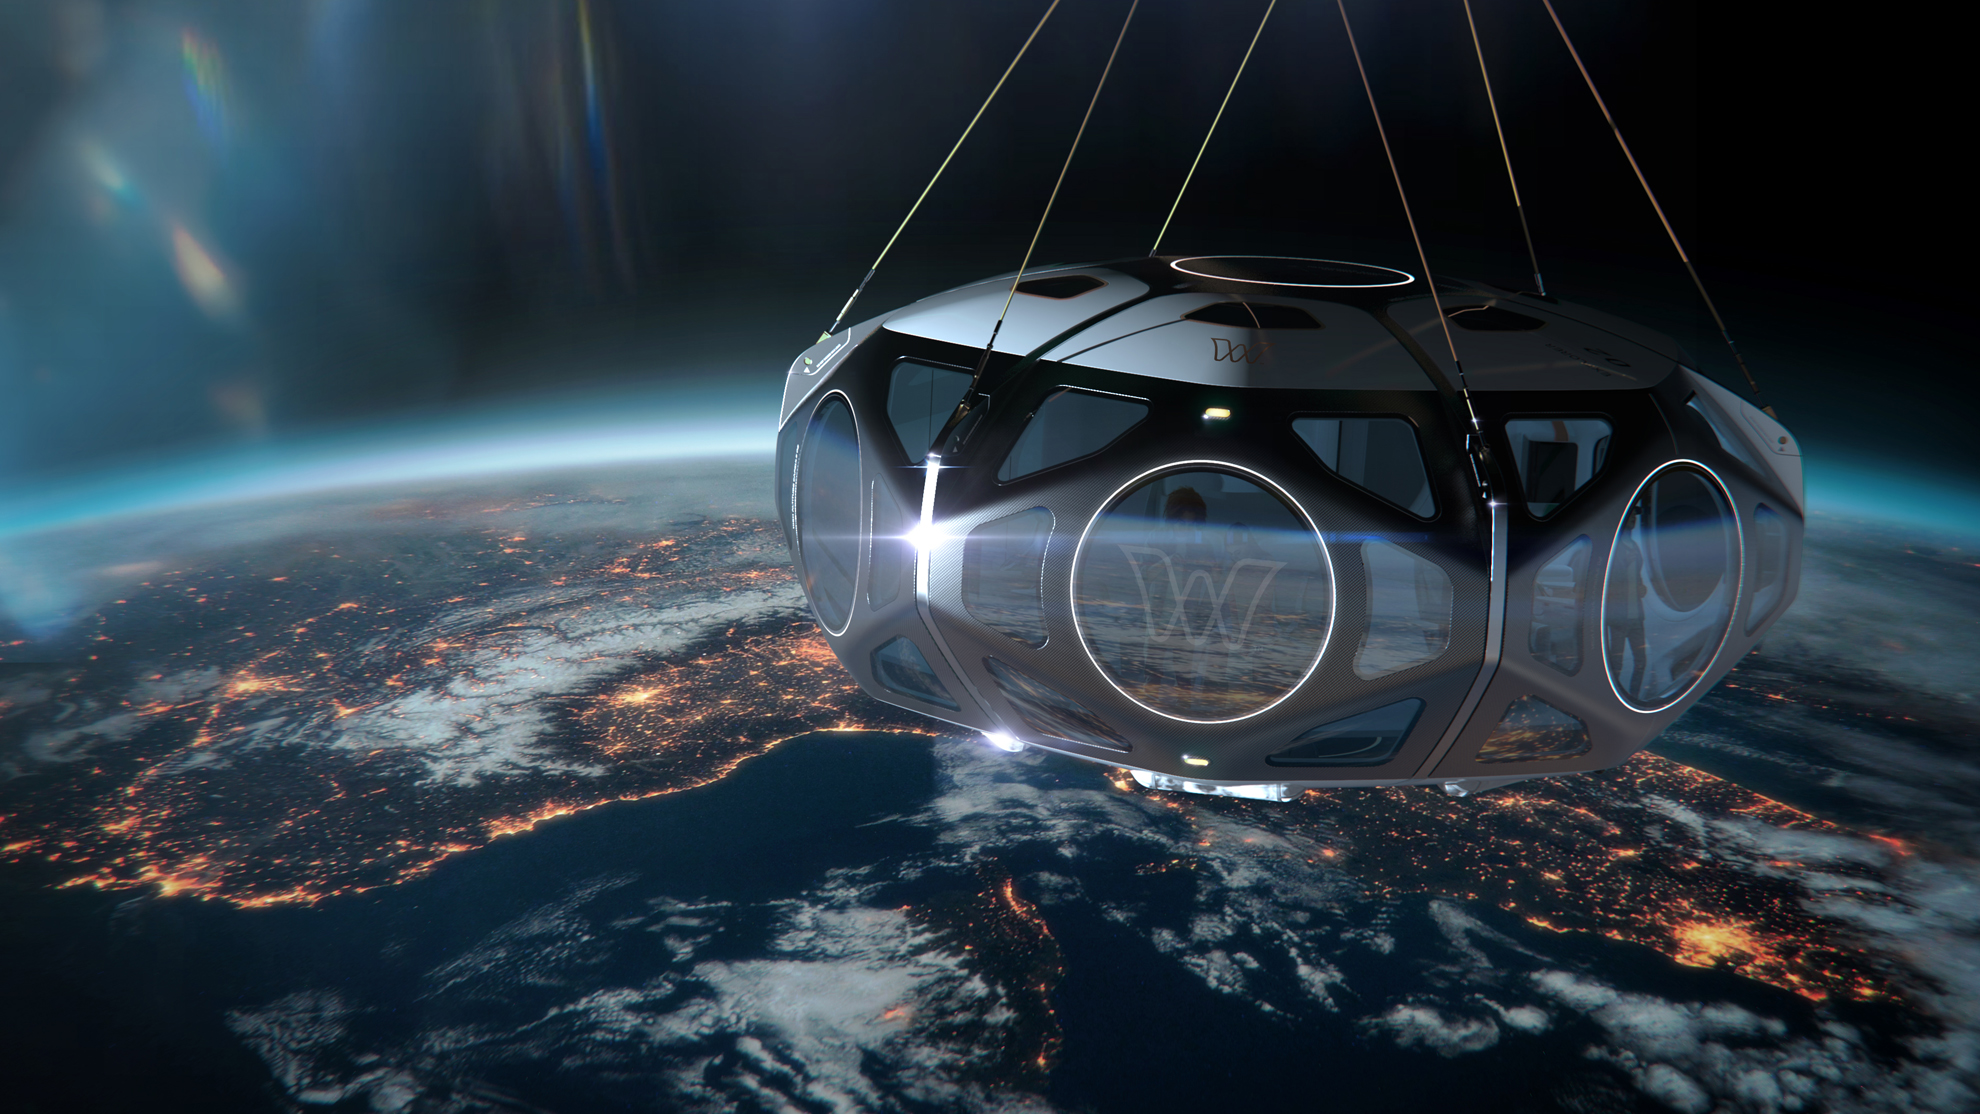
First, I started digging around to see how much it would actually cost to send something up that high. Turns out, it’s not as simple as just buying a giant balloon at the party store. I found out that companies like Space Perspective are actually working on sending people up in a pressurized capsule attached to a huge “SpaceBalloon,” I read about their Spaceship Neptune, pretty cool name huh? But guess what the ticket price is? $125,000! Can you believe that? That’s like, a down payment on a house, for most people!
So, that was pretty much a no-go for my little project. I’m not a millionaire, not even close. But then I saw that there are other companies out there, like World View and Zephalto, that are doing something similar, but for a bit less. I read that World View’s selling seats for around $50,000. Still crazy expensive, but it’s a big difference from $125,000, right?
But I wanted to see if I could do this myself, on a much smaller budget. I found a bunch of websites selling these specialized weather balloons, the kind that meteorologists use. They’re not cheap, but they’re way more affordable than a spaceship ticket. I ended up ordering one for a few hundred bucks. It’s big enough to carry a small payload, like a camera and some sensors.
My DIY high-altitude balloon launch
Then came the fun part – figuring out what to send up. I decided to go with a couple of action cameras, a GPS tracker, and a little data logger to record things like altitude and temperature. I built a simple styrofoam box to hold everything, making sure it was insulated and waterproof, just in case.
- The launch: I picked a clear, calm day, drove out to a big open field, and started filling up the balloon with helium. It took a while, and the balloon got really, really big. I attached my payload box, did a final check of all the equipment, and then, with a mix of excitement and nervousness, I let it go.
- The ascent: Watching it float up into the sky was pretty amazing. It quickly became a tiny speck, and then it was gone. I tracked it on my phone using the GPS, and it just kept going higher and higher.
- The peak: According to the data, it reached an altitude of over 90,000 feet. That’s not quite “space,” but it’s pretty darn close. And the footage from the cameras was incredible. You could see the curvature of the Earth, the thin blue line of the atmosphere, and the blackness of space above.
- The descent: Eventually, the balloon popped, as expected, and the payload came back down to Earth on a parachute. I was able to track it and recover it a few miles away from the launch site. Everything was intact, and I had all this amazing data and footage.
So, yeah, it’s not exactly a luxury trip to the edge of space like what those companies are offering, but I managed to get a little taste of it for a fraction of the price. And the best part is, I did it all myself. It was a lot of work, but totally worth it. I’d definitely recommend giving it a try if you’re into this kind of stuff. Just be prepared to spend some time and effort, and don’t expect to be sipping champagne in a pressurized cabin!

